Table of Contents
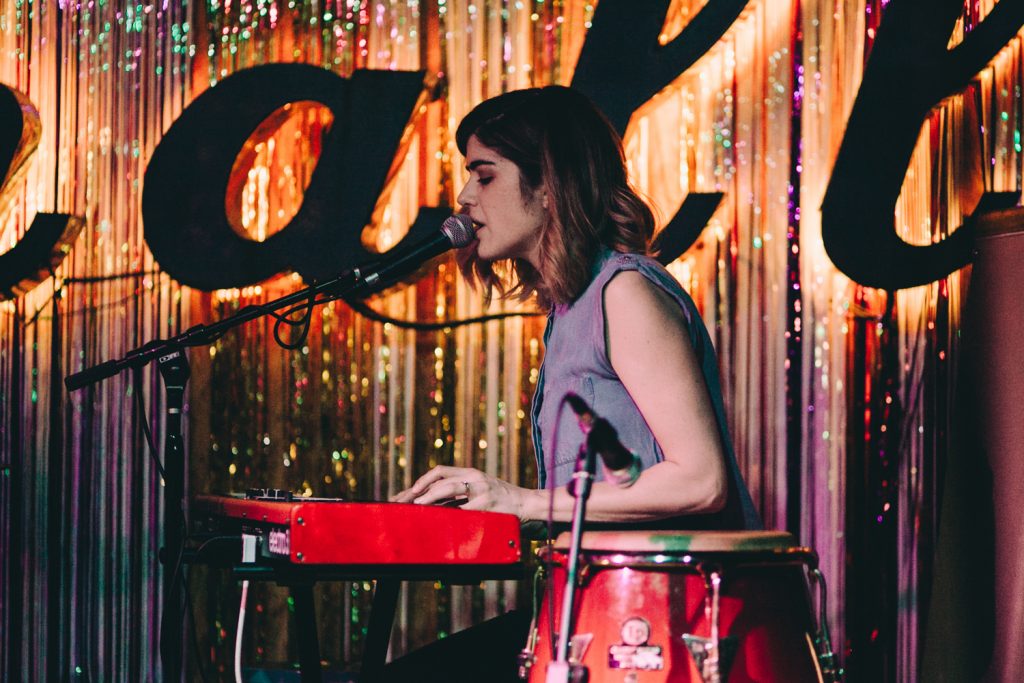
Integrating Entrepreneurial Technology into the Music Curriculum
The term “music technology” is a vague identifier for a subject that tends to be lumped into the “other” department of study in collegiate and high school-level music programs. Common lesson plans in a music technology course include composing electronic music, recording music, and arranging music on a notation software program. I would like to augment this approach and put music technology into a larger scope. Music technology should include not only the technology to create music but additionally, the technology that supports one’s career as a musician.
Now more than ever, it is clear that feeling at ease with technology is beneficial for educators of all kinds, but I believe that in music it is more important than many choose to believe. Using technology shouldn’t be a temporary solution for musicians in quarantine. There are so many underutilized platforms that I hope can continue to become more normal for musicians to embrace, even after our stay at home orders cease.
As a music technology and entrepreneurship professor, and as a Creative Brand Coach, I know that many creative people have to adopt a “DIY” attitude in order to leap forward in their careers. Being an excellent musician is, of course, the first step to succeeding in a music career–but we would be doing our students a disservice if we didn’t also prepare them for the reality of a career in music by integrating entrepreneurial technology into our music curriculum.
To give students as many tools in their arsenal as possible, I have created a curriculum that redefines the concept of “music technology”–towards the scope of using technology to aid in the promotion and development of creative pursuits. I do this through the use of three main projects: the Website Project, the Video Project, and the Podcast Project. Subsequently, my students study creating and designing a brand, cultivating an audience on social media, and creating content for the internet.
When my students draft a website, they start by using a building platform, such as Wix or Weebly, and a premade template. With this starting point, they are able to create attractive sites that can host their professional portfolios. All students benefit from understanding the methods of designing a website, even if they do not end up using the ones they make themselves in class. Grasping the techniques, jargon, and the components to building a website will also assist them, if they choose to hire a professional designer in the future, in communicating their needs as a client.
It is no question that including videos within a musician’s electronic portfolio is valuable. Videos provide proof that the musician is who they say they are, but they are also simply an enjoyable viewing experience for the audience member. A video can be of a performance, a behind-the-scenes look into the musician’s life or even a product to be sent in to audition calls and competitions. Regardless, learning the trade of videography is an essential skill for an artist-entrepreneur. My students create educational videos, reviewing how to compose shots, and how to edit them into a compelling story. Again–the task of learning videography is not only so that the student can eventually make videos. Equally as important, it is to provide the students with the lexicon needed to make videos, so if they are to hire a professional videographer in the future they are capable of expressing their needs.
The third project I teach is a venture into podcasting, where the benefits are similar to that of the Video Project. An introduction to podcasting is subtly an introduction to audio engineering and mixing, with less intimidating guidelines. All musicians will need to record something at some point, and if they have experience recording a simple podcast, they will feel less intimidated by the process. If the podcast is of an interview with another person, then the process is also an exercise in networking. The art of telling a story is also practiced when recording a podcast.
My students approach all three of these projects with creativity and expression. I give them a chance to use their own voice with guidelines that allow for personalization, which in turn pushes them towards understanding their own personal brand. They begin these projects as first-year students, and by the time they are in their third and fourth years, they are able to more clearly articulate their brand message. Throughout my time as a professor, punctuated by my experience as a videographer, audio engineer, musician, and business owner, I have developed a method for defining music technology as a useful tool for the artist-entrepreneur.
If you are looking to widen the scope of music technology in your classroom, I have a few suggestions for each of these three projects to help you feel more confident in taking them on next year:
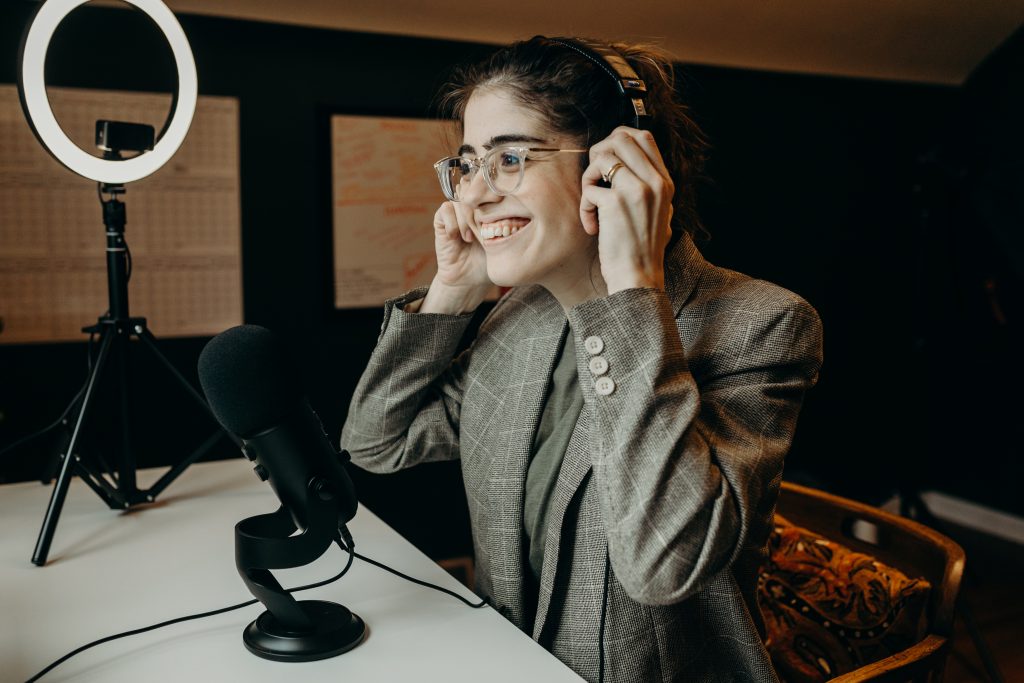
Podcasting Project
There are two approaches to this project that I have tried and loved: The Podcast Trailer, and the Podcast Episode. For the trailer, I have students begin by researching a podcast in their chosen industry and listening to an episode, answering some discussion questions about what they learned and liked from the experience. I then ask them to come up with a podcast concept of their own, answering the following prompts:
- My podcast is called:
- I hope to use my podcast as a way to discuss:
- My target audience is:
- A few ideal guests to interview on my podcast would be:
- My podcast is hosted by:
- My recurring segments include:
Once they conceptualize a podcast, they outline its format, create podcast cover art, script a trailer, and finally record and edit the trailer, adding music that they either composed or found on Free Music Archive. With the edited trailer recording, we create an audiogram, an image for social media that includes a moving waveform.
If you are recording a full episode, you will also be including interview skills and more recording experience for your students, which is a fantastic way for them to get outside of the classroom and use their knowledge in a practical, hands-on application. The Podcast Episode is a more complete project, whereas the Podcast Trailer ends up being more theoretical. I’ve used both depending on how much time I have in the class, and I found that the trailer was an excellent option for remote learning.
Equipment needed
You can do the Podcast Project with just smartphones and Audacity (a free recording/editing software program for Mac or PC), but if you have a budget, you can click here for a few more professional gear options I’d recommend.
Video Project
I have done a few variations of the Video Project as well, but the two most common iterations are the tutorial video and the IGTV video. When making a tutorial video, the students have to teach a music-related concept to beginners, which not only gives them experience in teaching but also in tailoring a message to a specific audience. For IGTV, that lesson is even more strongly applied because the students create videos to support promoting our Conservatory’s audition season. They share stories about their own experience as incoming first-year students, learn about promoting through social media and communicating a message of impact, and of course, learn how to create high-quality videos.
If you’re going to do a Video Project, I recommend starting with the tutorial video, because it is usually the most natural way to begin for teachers. Have the students choose a very specific topic to teach: 5 warm-ups for voice, how to clean your trombone, or how to play a buzz roll on the snare drum are good examples.
There are a few techniques that I teach the students which help them to capture higher quality videos:
- Find your light. Especially when using phone cameras, good lighting is critical. Film in a room that has excellent overhead lighting or natural light in order to avoid grainy footage.
- Orientation. Be sure to film using your phone in a horizontal position if shooting a tutorial, or vertical if shooting for IGTV.
- Consider where your microphone is placed. If you are recording video with your phone, keep in mind that it is also capturing your audio. So, be sure to have your on-camera subject close enough to the phone that their speaking voice is captured by the built-in microphone without too much room noise (the sound of the room they are in).
- To make things easier, add a voiceover narration. If you are filming a tutorial, sometimes it is easier and produces better quality audio if you film all of the visuals first, then add a voiceover narration of the tutorial instructions that you record later.
Equipment needed
The students complete their Video Project using their smartphones and iMovie.
(See one of Megan’s videos below from her YouTube Channel, “Creative Brand Sessions”)
Website Project
You don’t need to be a web developer to build a website or teach a Website Project; it can be as simple as creating a free account on Weebly or Wix or a similar platform. If you wish, you can dive deeper than free platforms and design a beautiful website on Squarespace, while never learning a speck of coding.
For my Website Project, I teach a 4-page portfolio layout and require a landing page, about page, contact page, and another page highlighting the specific career of the musician (such as a page for media, events, or teaching philosophy). This type of project has seen its best iteration when I taught it to juniors and seniors because at that age they are thinking more towards the future and are able to communicate their expertise more easily. They may also have videos, audio, or a repertoire list that can aid in sharing their brand message as musicians.
The most important questions that a musician’s website should answer are as follows:
- What exactly do you do? (Communicate your expertise)
- Why should I believe in you? (Share examples of your work)
- For what purpose can I hire you? (Outline your goals)
- How can I contact you? (Make it simple to reach you)
These questions hold high prominence on a website because they help to tell the story of the musician and make it easy for a potential client or employer to visualize what it might be like to work with them. The design of a website is important, in that it should be easily navigated and not distracting–but what is most important is that the message is clear and consistent.
Helpful resources
Wix, Weebly, Unsplash (stock photos), Canva (graphic design tool), PNG repo (free icons)
I hope that these tips and suggestions are helpful to you as you start taking on more entrepreneurial technology projects at your school. Even though your students won’t all become professional musicians, these skills are transferable and useful in many career paths… and they will be helpful for you to learn as their teacher, too!
Beyond this advice, I also offer coaching to help you get set up with each of these projects. I provide lesson plans and rubrics to my clients, as well as Zoom workshops with you and your coworkers if preferred. Feel free to email me with questions at [email protected].
Photo Credits: Cover Image, Lindsay Poyer (@lindsaypoy); Blog Images, Hilary Bovay (@hilarybovayphotography)


Leave A Comment